Od jakiegoś czasu programuję większości w Laravelu, od czasu do czasu usiądę do jakiegoś WordPressa po pracy, jednak przeważnie cały czas Laravel, czy to w pracy czy prywatnie. Środowisk developerskich na rynku mamy od groma, zaczynając od MAMPa, dockera czy Vagranta. Z tego ostatniego sporo korzystałem, lubiłem jego „łatwość” w konfigurowaniu oraz to, że mogłem rozdzielać sobie różne projekty na różne maszyny. Żyć nie umierać…
Do czasu poznania Laravel Valet dla MacOS. Idea prosta, dostarczyć narzędzie które nie będzie potrzebowało dodatkowej konfiguracji przez co rozpoczęcie nowego projektu ogranicza się do wpisania jednej komendy.
Instalacja jest bardzo prosta, od nieposiadania do używania Valet mija dosłownie kilka minut.
Instalacja
Aby rozpocząć musimy mieć zainstalowany menadżet pakietów homebrew oraz composera.
Krok 1.
Uruchamiamy terminal i wpisujemy:
|
1 |
brew update |
Dzięki temu zdobędzie najnowszą wersję brew.
Krok 2.
Instalujemy PHP w wersji 7.1
|
1 |
brew install homebrew/php/php71 |
Przy okazji instalujemy bazę danych mysql
|
1 |
brew install mysql |
Krok 3.
Finalnie instalujemy przez composer Laravel/Valet
|
1 |
composer global require laravel/valet |
Na koniec w terminal wpisujemy:
|
1 |
valet install |
Konfiguracja
Możemy teraz przejść do folderu gdzie trzymamy swoje projekty, wykorzystać ostatnie komendy:
|
1 |
valet park |
Oraz:
|
1 |
valet start |
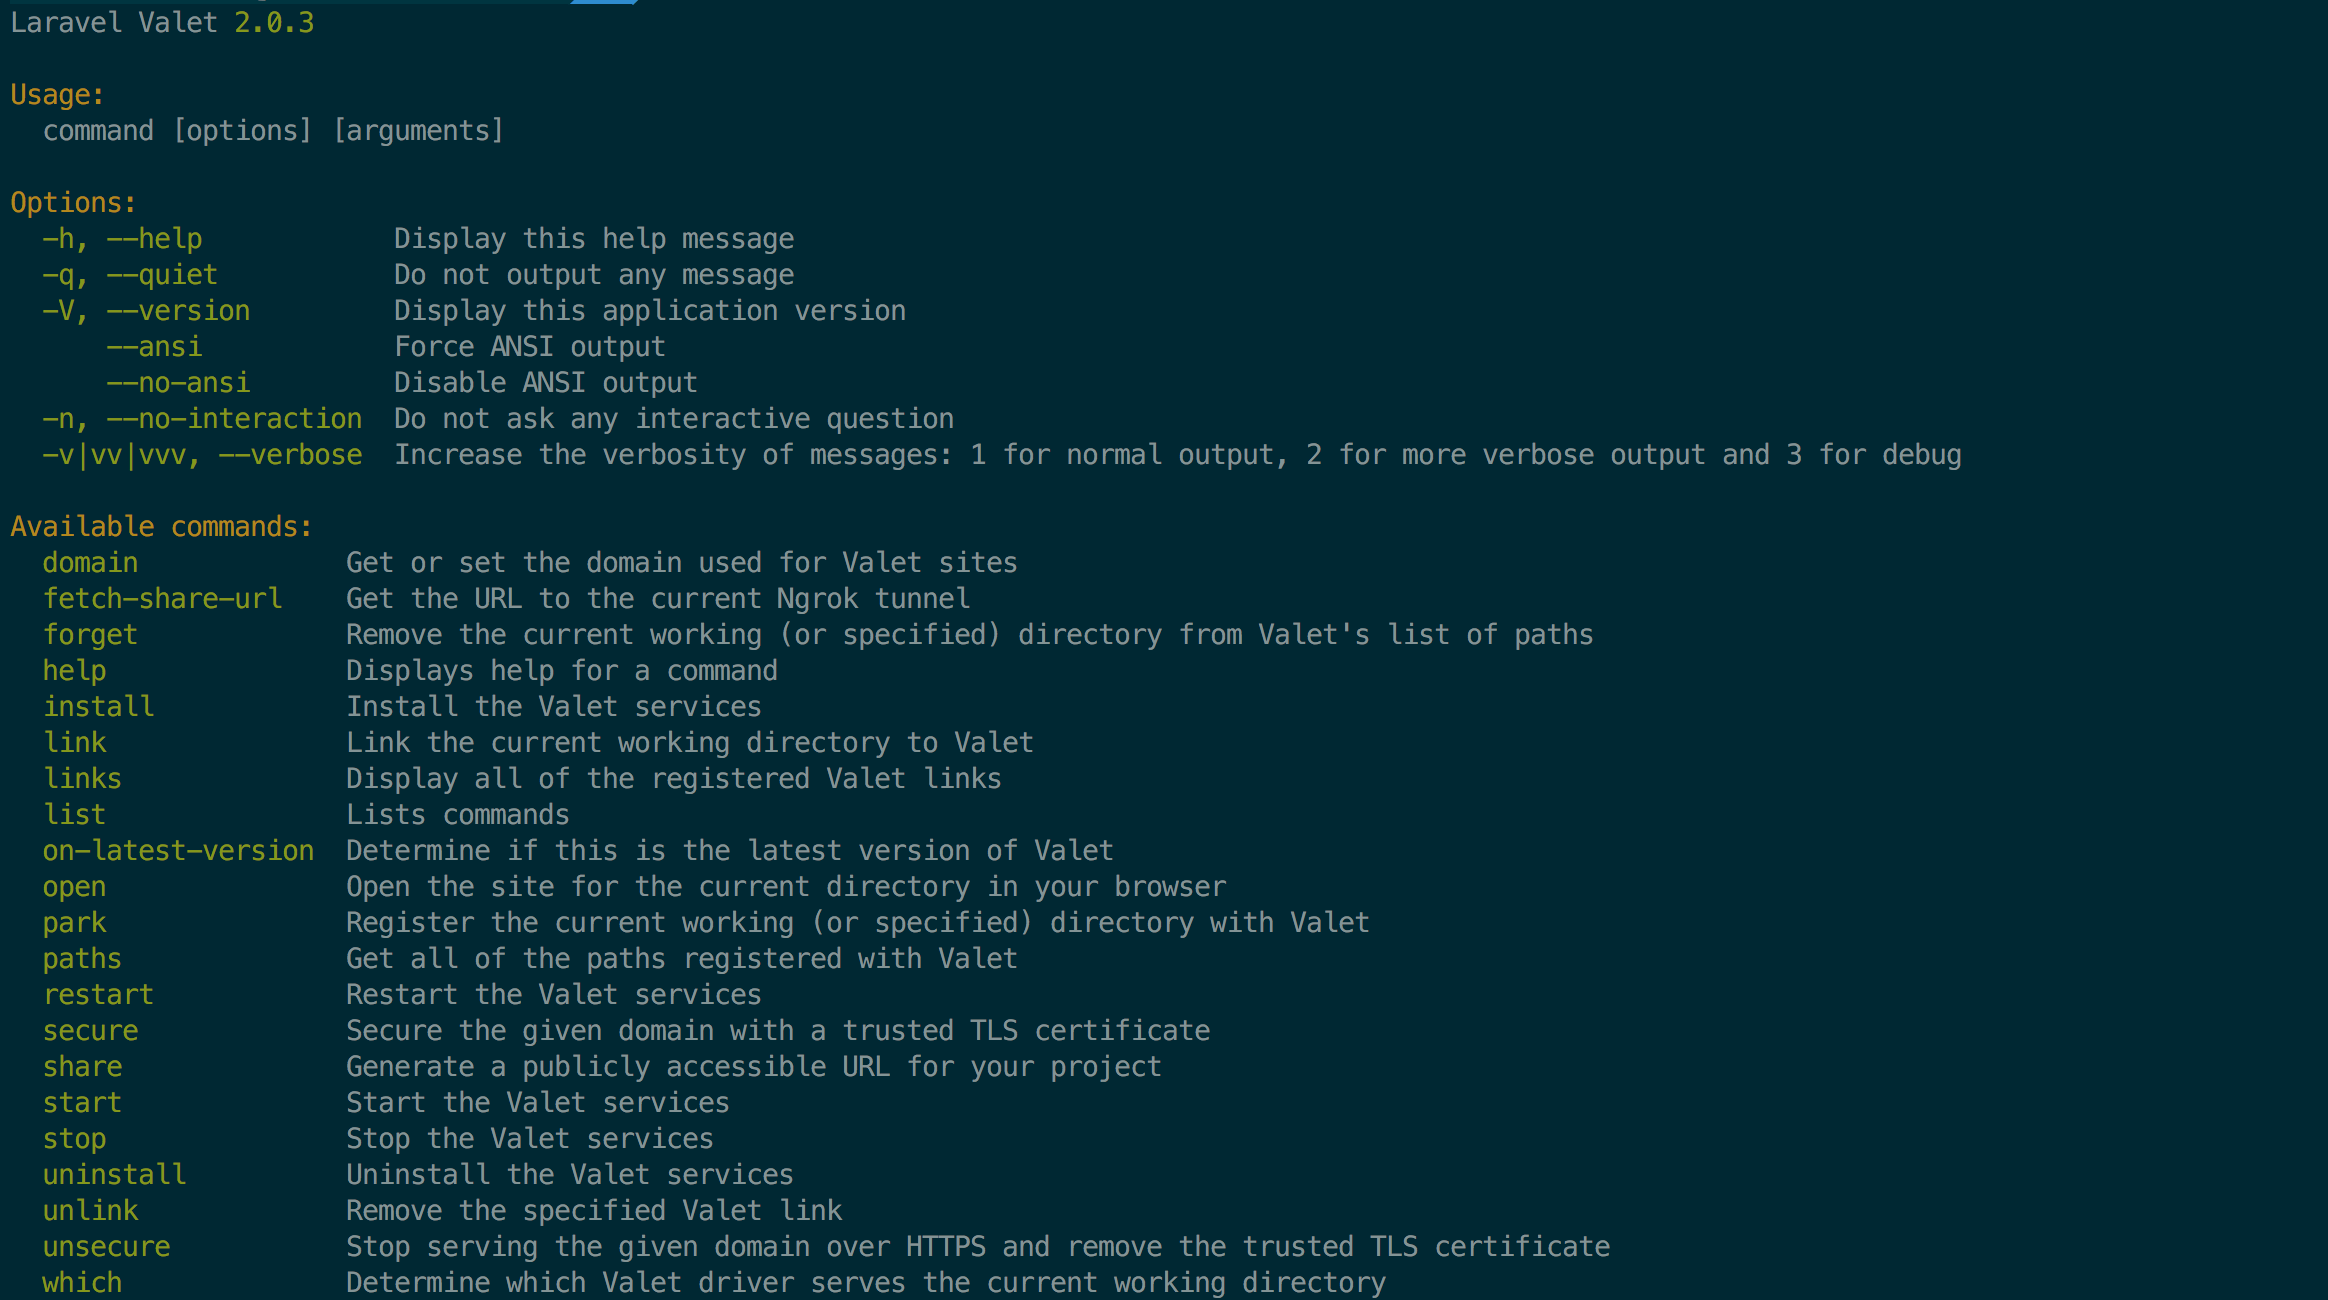
Obsługa samego Valeta jest bardzo prosta, cała zabawa ogranicza się do kilku komend. Cała lista komend dostępna jest pod komendą valet list i prezentuje się następująco:
|
1 2 3 4 5 6 7 8 9 10 11 12 13 14 15 16 17 18 19 20 21 |
domain Get or set the domain used for Valet sites fetch–share–url Get the URL to the current Ngrok tunnel forget Remove the current working (or specified) directory from Valet’s list of paths help Displays help for a command install Install the Valet services link Link the current working directory to Valet links Display all of the registered Valet links list Lists commands on–latest–version Determine if this is the latest version of Valet open Open the site for the current directory in your browser park Register the current working (or specified) directory with Valet paths Get all of the paths registered with Valet restart Restart the Valet services secure Secure the given domain with a trusted TLS certificate share Generate a publicly accessible URL for your project start Start the Valet services stop Stop the Valet services uninstall Uninstall the Valet services unlink Remove the specified Valet link unsecure Stop serving the given domain over HTTPS and remove the trusted TLS certificate which Determine which Valet driver serves the current working directory |
Podczas codziennej pracy większości będziemy używali kilku valet start, valet park, valet stop, valet restart. Kluczową funkcją Valeta jest jego szybkość oraz… Możliwość bardzo szybkiego udostępnienia lokalnego środowiska na zewnątrz. Krótko mówiąc nie musimy robić deploymentu z naszego komputera na serwer aby pokazać klientowi jak wygląda strona, wystarczy użyć komendy valet share. Operacja jest szybka i bardzo prosta, ogranicza się do wpisania powyższej komendy. Nigdy nie zdarzyło mi się, żeby share nie działał.

